
Create Token
Android
If you want to know the latest SDK version and the difference between each version, please refer to Github Release Page: TapPay Android Github
Overview
- Setup Project, and use TPDSetup to setup environment.
- Check user device can use PlusPay.
- Use intent filter’s uri to setup TPDPlusPay.
- Use TPDPlusPay to get prime.
- Use redirectWithUrl open PlusPay Application.
- Complete transaction get PlusPayResult via onNewIntent.
Setup Environment
Add below intent-filter to an Activity for receiving PlusPay Result with App Link in AndroidManifest.xml and set launch mode to SingleTask
<activity
    android:name=".MainActivity"
    android:launchMode="singleTask">

    <intent-filter android:autoVerify="true">
        <action android:name="android.intent.action.VIEW" />

        <category android:name="android.intent.category.DEFAULT" />
        <category android:name="android.intent.category.BROWSABLE" />

        <data
            android:host="your host"
            android:pathPattern="/your path"
            android:scheme="https" />

    </intent-filter>
</activity>
TPDSetup
static void initInstance(Context context, int appID, String appKey, TPDServerType serverType);
| Name | Type | Usage |
|---|---|---|
| context | Context | Android Context |
| appID | int | Please refer to appid. |
| appKey | String | Please refer to appkey. |
| serverType | TPDServerType | Use “TPDServerType.Sandbox” for sandbox environment, and “TPDServerType.Production” for production environment. |
TPDSetup.initInstance(getApplicationContext(), APP_ID, "APP_KEY", TPDServerType.SANDBOX);
Setup app link
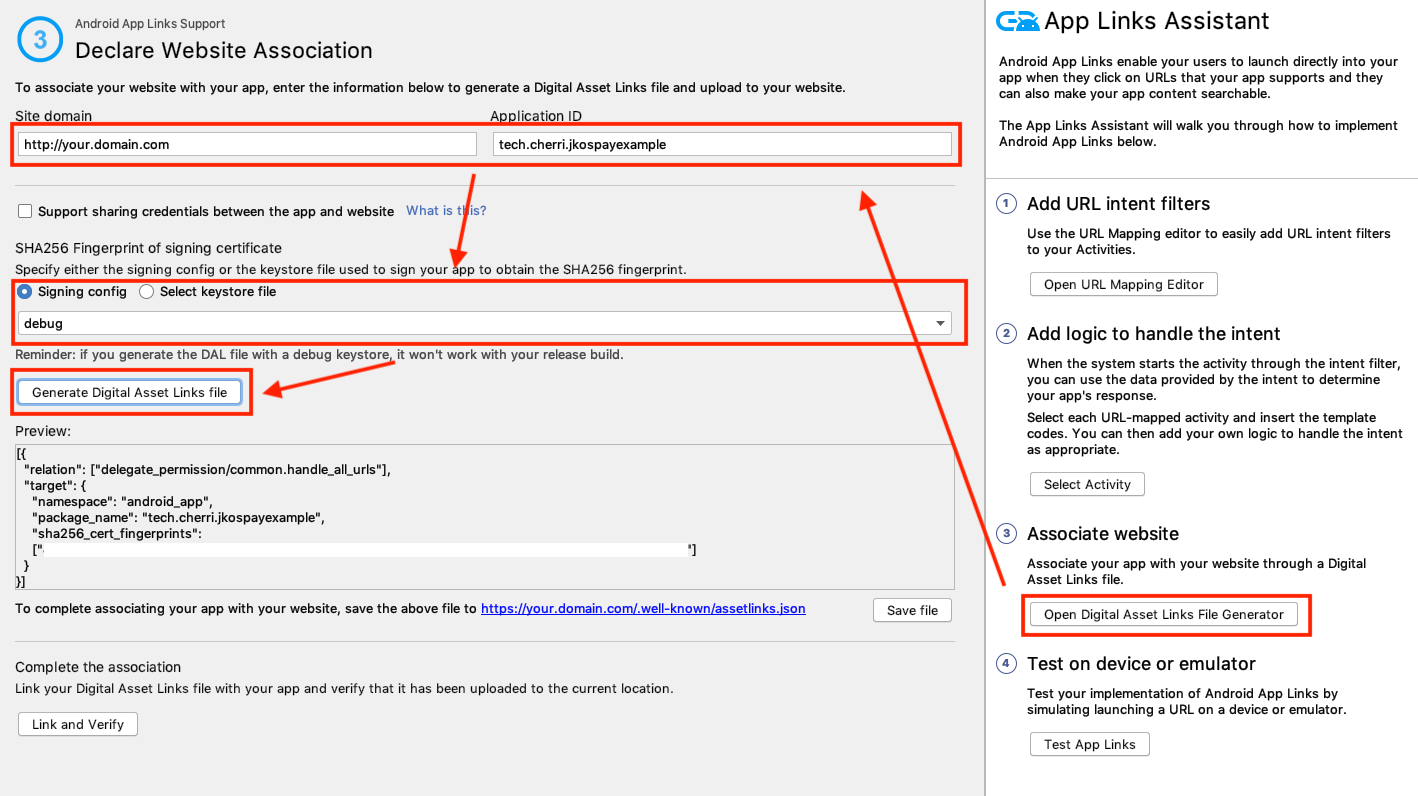
1 .Setup a config need to use an API return JSON string, API path https://"your host"/"your path"(Declared in Setup Environment)
JSON string For example:
[{
  "relation": ["delegate_permission/common.get_login_creds"],
  "target": {
    "namespace": "android_app",
    "package_name": "your package name",
    "sha256_cert_fingerprints":
    ["your sha256_cert_fingerprints"]
  }
}]
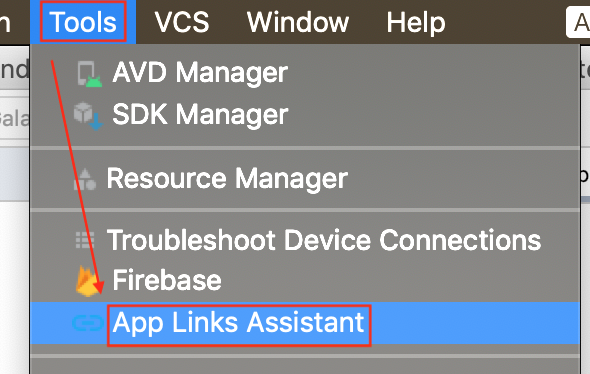
2 . How to get JSON String, use android studio click Tools choose App Links Assistant
Check PlusPay Availability.
boolean isPlusPayPayAvailable = TPDPlusPay.isPlusPayPayAvailable(this.getApplicationContext());
Setup TPDPlusPay
Setup TPDPlusPay with universal links(both declared in Setup Environment).
Example as following :
TPDPlusPay tpdPlusPay = new TPDPlusPay(getApplicationContext(), "your universal links");
Get Prime
Use TPDPlusPay to get prime, send prime to your server and call Pay-By-Prime API.
tpdPlusPay.getPrime(TPDPlusPayGetPrimeSuccessCallback, TPDGetPrimeFailureCallback);
redirectWithUrl
Obtained payment_url from TapPay Server, then use redirectWithUrl(payment_url) open PlusPay Application.
tpdPlusPay.redirectWithUrl(payment_url);
PlusPay Result
Receive PlusPayResult in Activity life cycle “onCreate” or “onNewIntent” (depend on the activity had been destroyed or not)
tpdPlusPay.parseToPlusPayPayResult(getApplicationContext(), intent.getData(), TPDPlusPayResultListener listener)
You can get PlusPay transaction information via onParseSuccess.
| Name | Content |
|---|---|
| status | Response code. 0 indicates success. |
| recTradeId | Unique identifier for this transaction generated by our server. |
| bankTransactionId | Transaction identifier for the bank. |
| orderNumber | A self-defined identifier for each transaction, for TapPay to identify transaction. |
Test Method in sandbox
Please contact TapPay Support
Email : Support@cherri.tech